
Planning a new pole barn is one of the most significant investments a property owner can make, and starting with the right digital tools ensures you get every detail right from the beginning. The Delmarva Buildings 3D designer lets you configure and visualize your pole barn before a single post is placed in the ground, giving you a clear picture of your barn design before any material is ordered. In this guide, we walk you through exactly how to use the tool so your barn design reflects your needs, your budget, and your property.
Step 1: Open the 3D Designer and Start a New Project
To get started, open a new project in the Delmarva Buildings pole barn 3D designer, which is accessible directly from the website. The interface loads a blank building canvas where you begin shaping your barn design by entering basic project details such as intended use, location, and preferred building style. The tool is structured so that even first-time users can move through the early setup steps confidently without any technical background.
Once your project is created, the 3D designer presents a live three-dimensional model of your pole barn that updates in real time with every change you make. You can orbit the model, zoom in on specific sections, and toggle between exterior and interior views to get a complete picture of your barn design at any stage. This real-time visual feedback is what separates the Delmarva Buildings digital planning experience from traditional paper blueprints.
Step 2: Set Your Building Dimensions
The next step in the pole barn 3D designer is entering the core dimensions of your structure, specifically the width, length, and eave height. These three inputs define the overall volume of your barn design and influence every structural and aesthetic decision that follows in the tool. Delmarva Buildings recommends thinking carefully at this stage about the largest items that will enter or be stored in the pole barn, whether that is farm equipment, a recreational vehicle, or workshop machinery.
As you enter dimensions, the 3D model scales instantly so you can evaluate the proportions of your barn design in context. Adjusting width by even a few feet can significantly change the interior layout possibilities, and the tool makes it easy to compare multiple size scenarios side by side. Delmarva Buildings uses post-frame construction, which means the dimensions you set translate directly into fully usable floor space without interior columns interrupting the layout.
Step 3: Choose Your Roof Style and Pitch
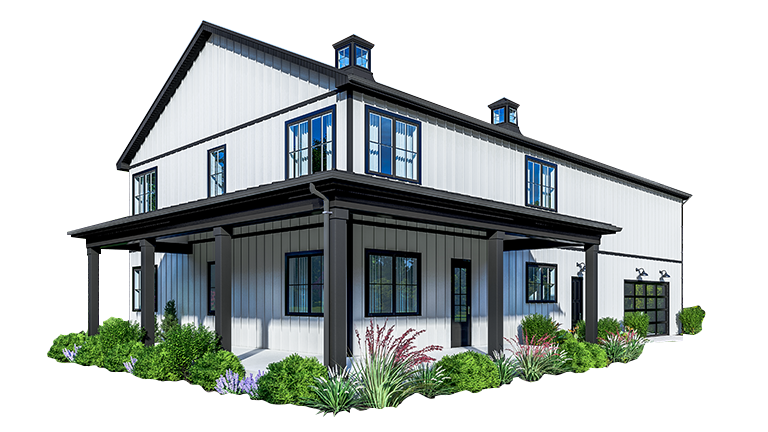
With dimensions locked in, the 3D designer prompts you to select a roof style and pitch for your pole barn. A standard gable roof is the most common choice for a barn design, offering efficient water and snow runoff and a classic agricultural aesthetic that suits most property types across Delaware, Maryland, and Virginia. Delmarva Buildings offers a range of pitch options within the tool, and the 3D model renders each selection immediately so you can see how the roofline affects the overall silhouette of your pole barn.
Steeper pitches add interior loft potential and improve drainage in areas that receive heavy snowfall, while shallower pitches deliver a more contemporary look and can reduce material costs on larger footprints. The pole barn 3D designer shows the impact of each pitch choice on eave overhang, ridge height, and overall building volume so your barn design decisions are always informed by real visual data. Delmarva Buildings can also recommend optimal pitches based on site-specific wind and snow load requirements during a follow-up review.
Step 4: Select Exterior Colors and Panel Options
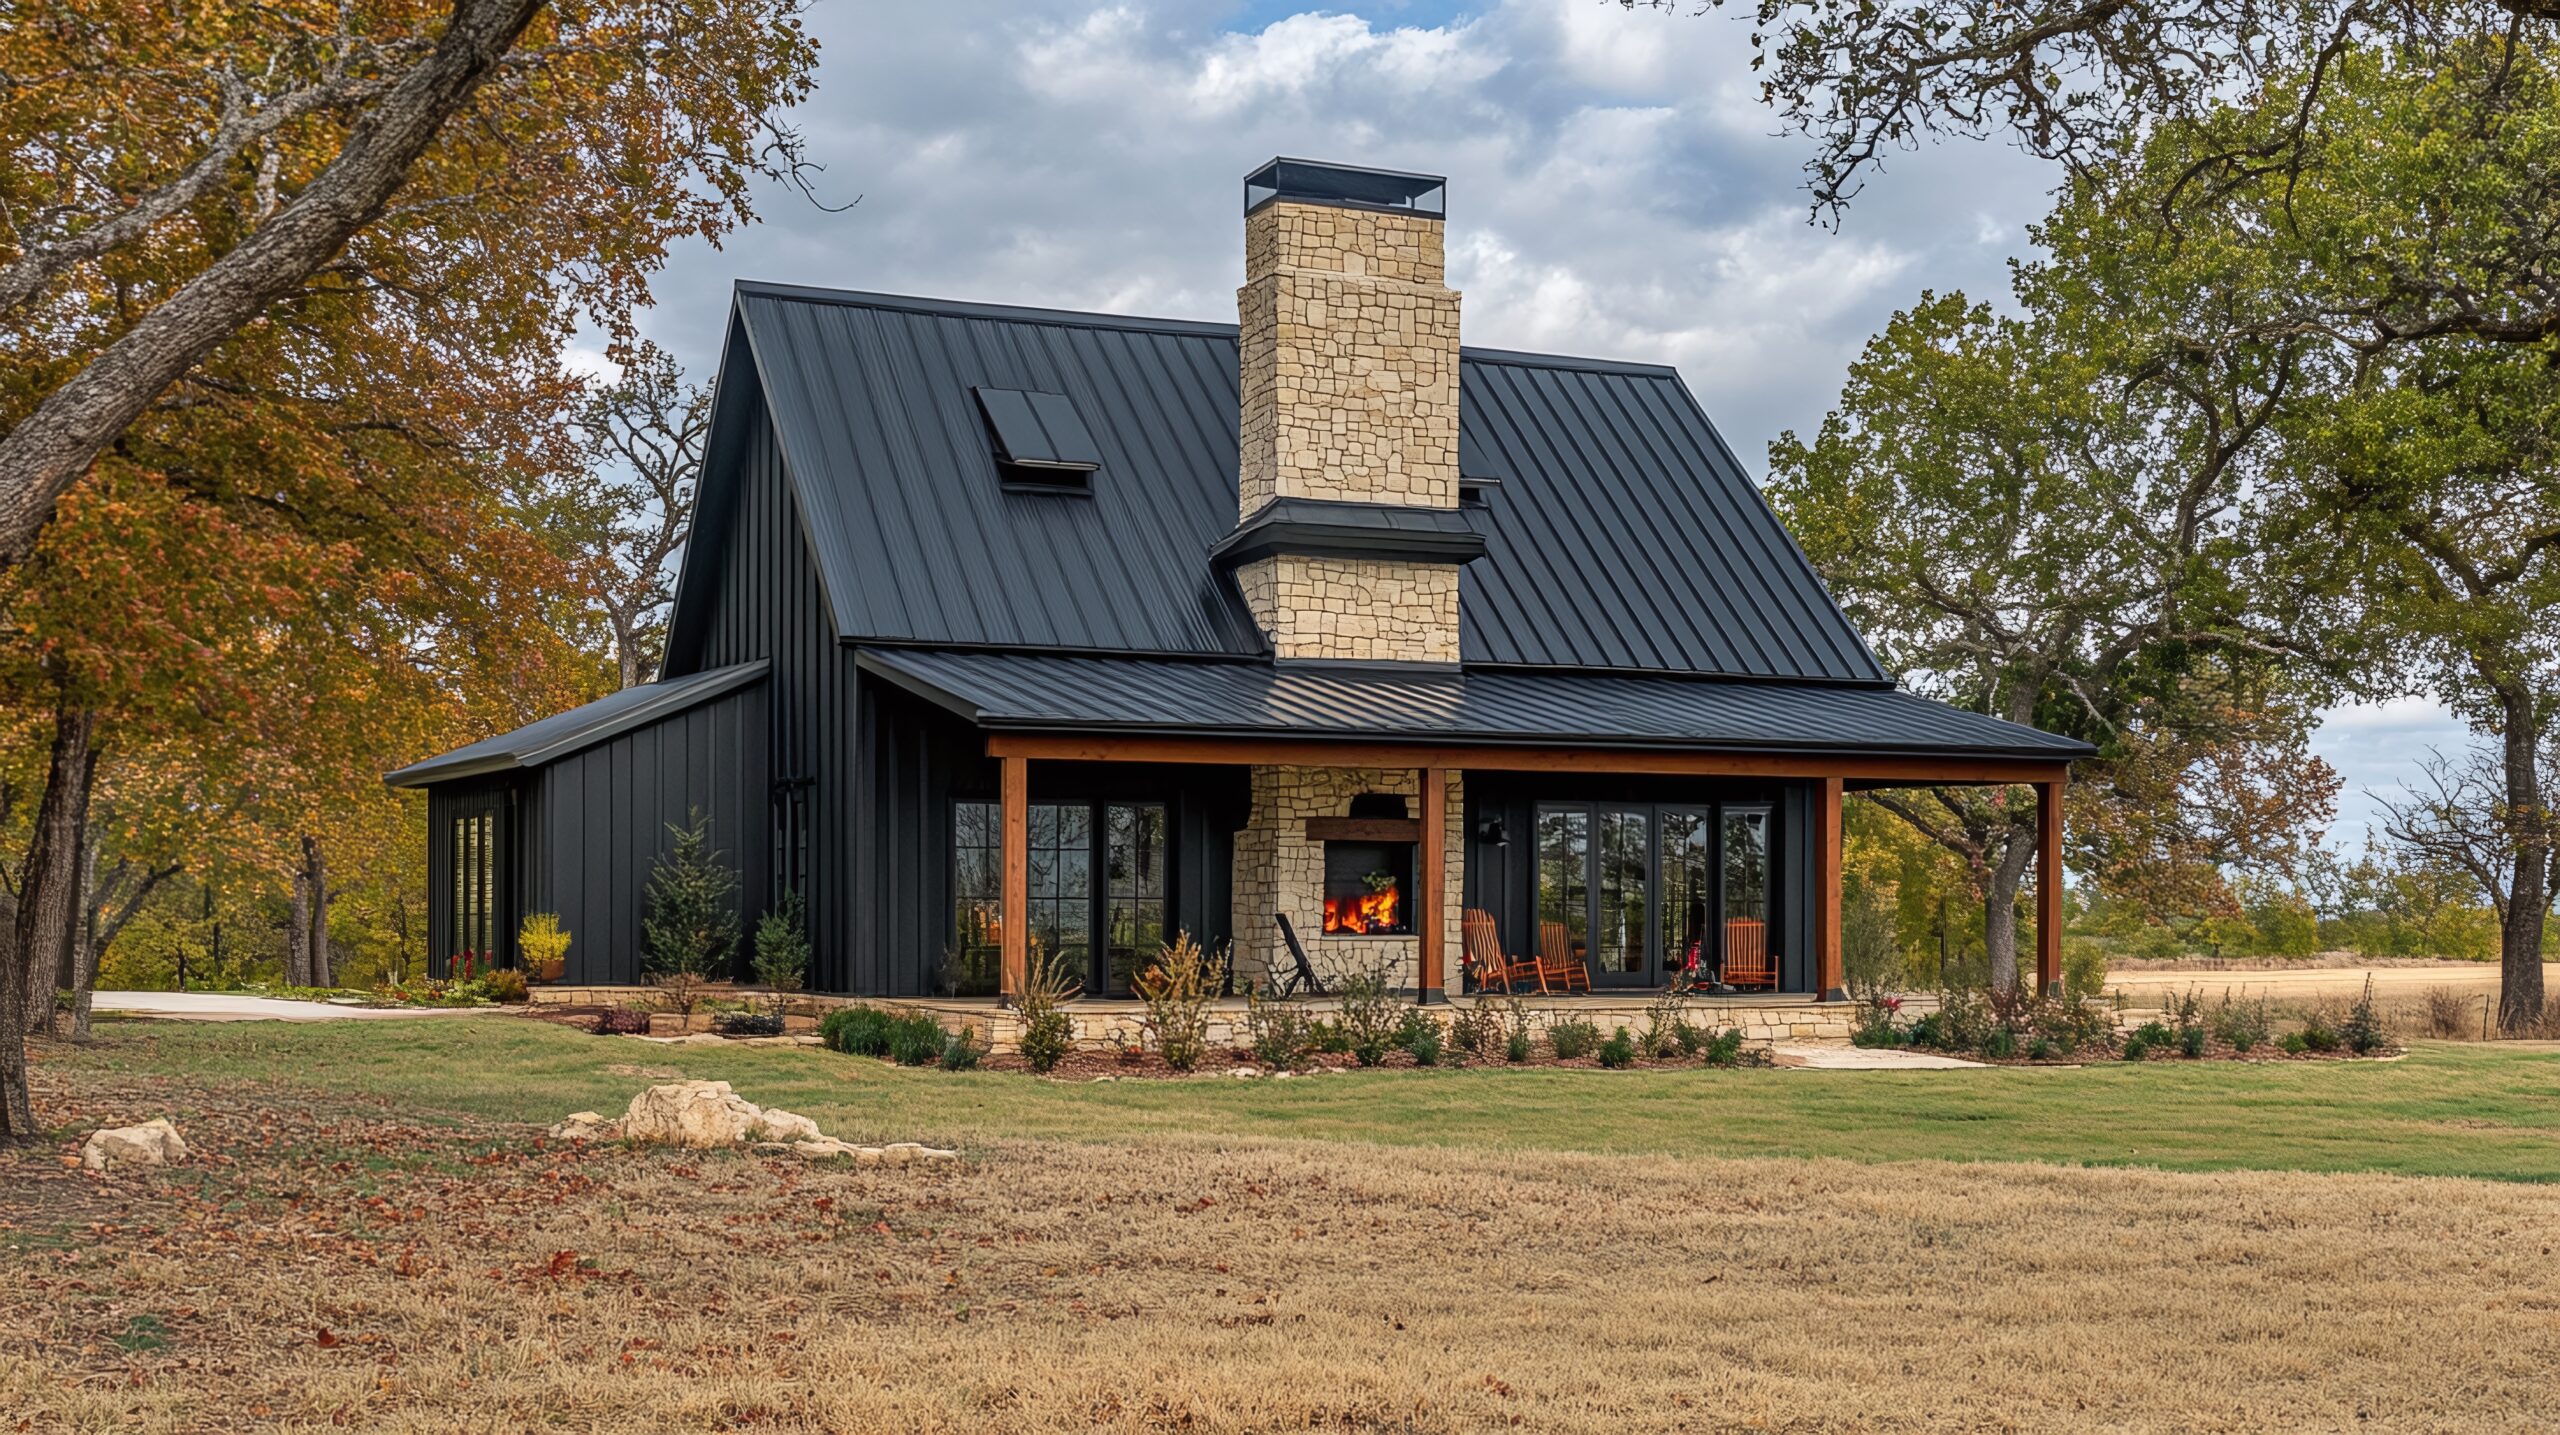
One of the most engaging steps in the barn design process is selecting the exterior metal panel colors and trim packages within the 3D designer. Delmarva Buildings sources panels through its Gold Standard Steel Co. line, and the full color range is available to preview directly on your pole barn model in real time. You can pair a primary wall panel color with a contrasting trim and roof combination to achieve a look that coordinates with existing structures on your property.
The 3D designer renders your chosen palette under simulated lighting so the preview closely represents the finished appearance of your pole barn on a bright day. Delmarva Buildings’ exclusive Delmarva Panel System ensures that every panel is precision-engineered for a tight, weather-resistant fit, which is the foundation of the company’s 20-Year Leak-Free Guarantee. Experimenting with colors in the barn design tool before ordering eliminates the uncertainty that often leads to costly finish changes after construction begins.
Step 5: Add Doors, Windows, and Add-Ons
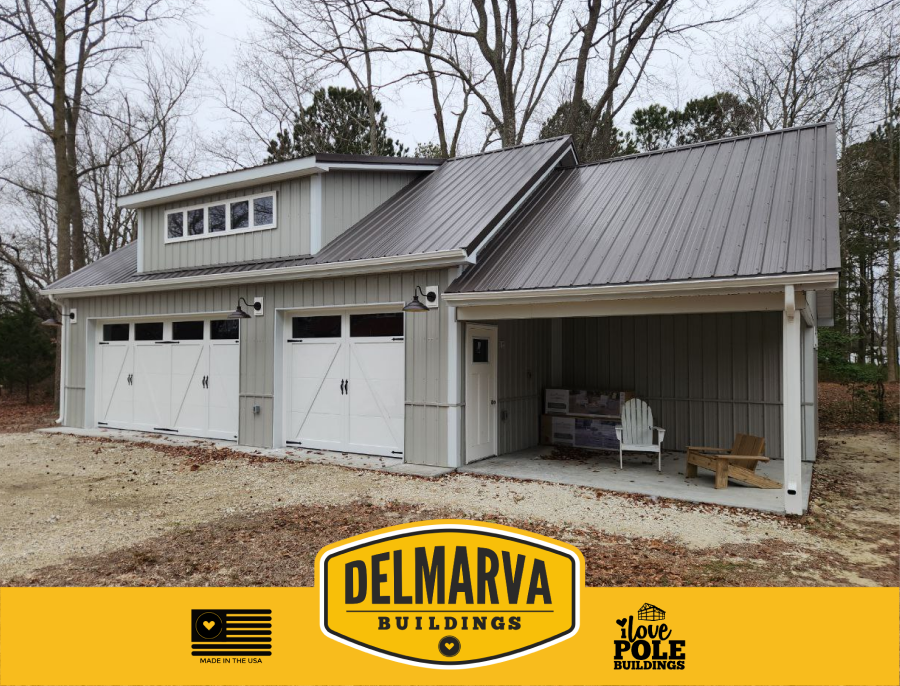
The pole barn 3D designer allows you to place walk-in doors, overhead garage doors, windows, cupolas, and attached lean-to additions directly onto your barn design with a simple click-and-position interface. Each element renders immediately in the 3D model so you can evaluate placement from every angle and ensure that openings and access points align logically with your intended workflow.
Delmarva Buildings offers a wide range of door widths and heights within the tool, accommodating everything from standard walk-in access to oversized openings for large agricultural equipment or commercial vehicles. Accessories such as cupolas, vented ridge caps, and wainscoting are also configurable within the designer, giving your barn design a finished appearance that goes beyond a basic utility structure. As you add each element, the 3D designer flags any placement conflicts that might affect structural integrity or code compliance, helping you arrive at a barn design that is both visually compelling and fully buildable.
Also Read: Top Mistakes to Avoid When Building an Equestrian Facility This Spring
Step 6: Save, Share, and Consult with Delmarva Buildings
Once your barn design is complete in the pole barn 3D designer, you can save your configuration and share it directly with Delmarva Buildings for a professional review. The team evaluates your saved design against local zoning standards, structural engineering requirements, and site-specific load conditions across Maryland, Delaware, Virginia, and New Jersey. This expert review transforms your digital concept into a fully engineered, permit-ready plan for your pole barn.
Following the consultation, Delmarva Buildings generates a detailed project quote based on your finalized barn design, covering the structural package, panel system, door and window configurations, and installation. Every pole barn is backed by a Lifetime Structural Warranty, a 20-Year Leak-Free Guarantee, a 5-Year Workmanship Warranty, and a Price Match Guarantee, so the barn design you finalize in the tool is built and protected for decades to come. Start your free session today and experience how Delmarva Buildings turns a barn design concept into a structure built to last.
Also Read: Barndominium with Shop Cost: Complete 2026 Guide
Conclusion
Using the Delmarva Buildings pole barn 3D designer is the most efficient and reliable way to bring your barn design vision to life before committing to construction. From entering dimensions in Step 1 to reviewing your finalized design in Step 6, each stage of the process is guided, visual, and grounded in the real capabilities of the Delmarva Buildings construction team. Start your free design session today and take the first confident step toward a pole barn that delivers on every detail.